Getting Started
Synchronize Data from SQL Account
Before signing in to X-Pos Terminal for the first time, synchronize the terminal with SQL Account to retrieve the required company and POS data. After the synchronization is complete, authorized users can sign in.
On the sign-in screen, select Sync in the upper-right corner.
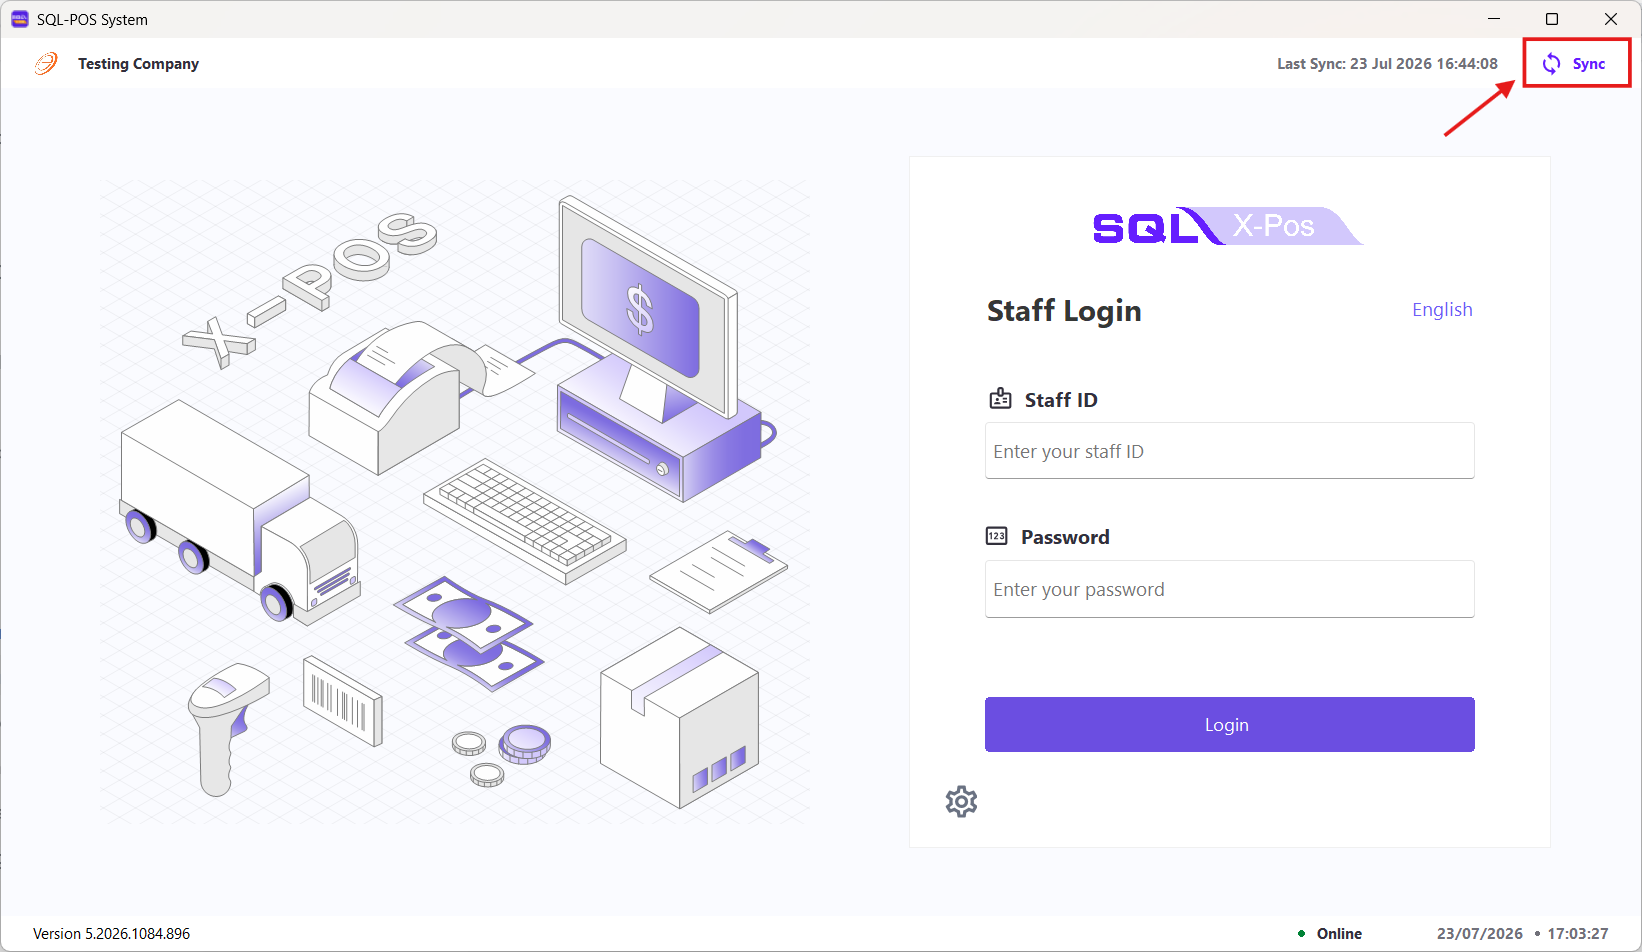
You can synchronize the data using any of the following methods:
- A POS PIN generated in SQL Account
- A backup file stored on a USB drive
- A local export file, if SQL Account and X-Pos Terminal are installed on the same device
Method 1: Use a POS PIN
-
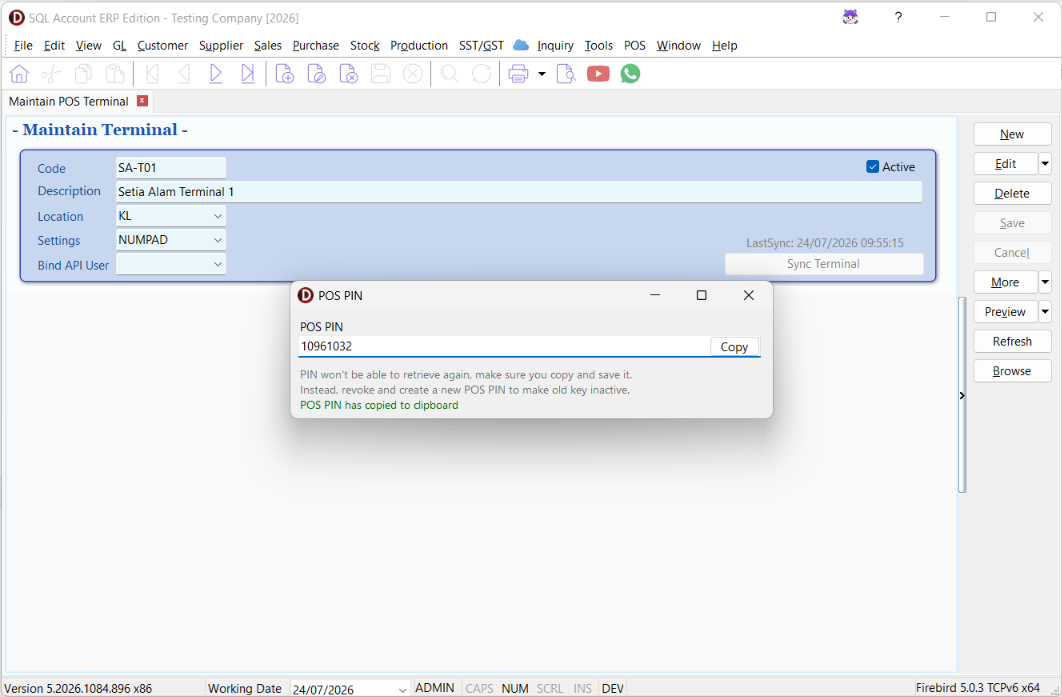
In SQL Account, open POS > Maintain POS Terminal.
-
Select the terminal that you want to synchronize.
-
Select Sync Terminal, then select Sync.
-
A POS PIN will be generated. Select Copy, then store the PIN securely.
cautionThe POS PIN is displayed only once and cannot be retrieved again. If you lose it, revoke the existing PIN and generate a new one.
-
In X-Pos Terminal, enter the PIN in the Sync Metadata using PIN window.
-
Select OK to start the synchronization.

Method 2: Use a Local Export File
Use this method when SQL Account and X-Pos Terminal are installed on the same Windows device.
-
In the Sync Metadata using PIN window, select Try Other.
-
In the file-selection window, enter
%temp%in the address bar and press Enter. -
Select the
SQLPOS_Exportfolder.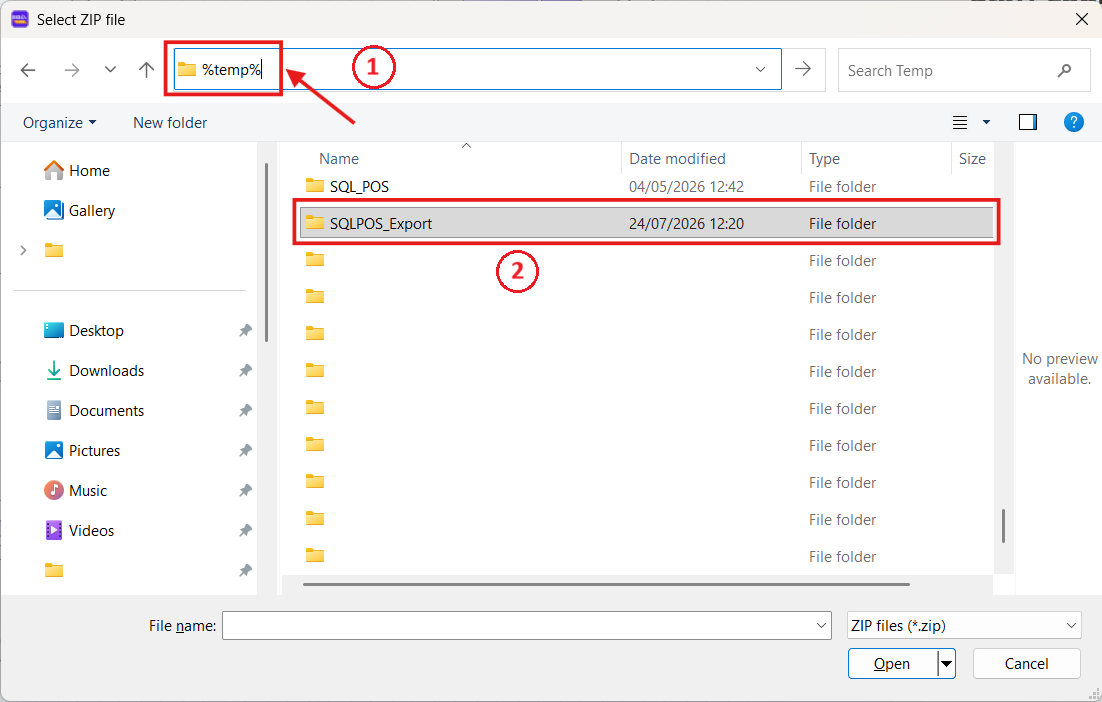
-
Open the folder for your terminal, for example
SA-T01-KL.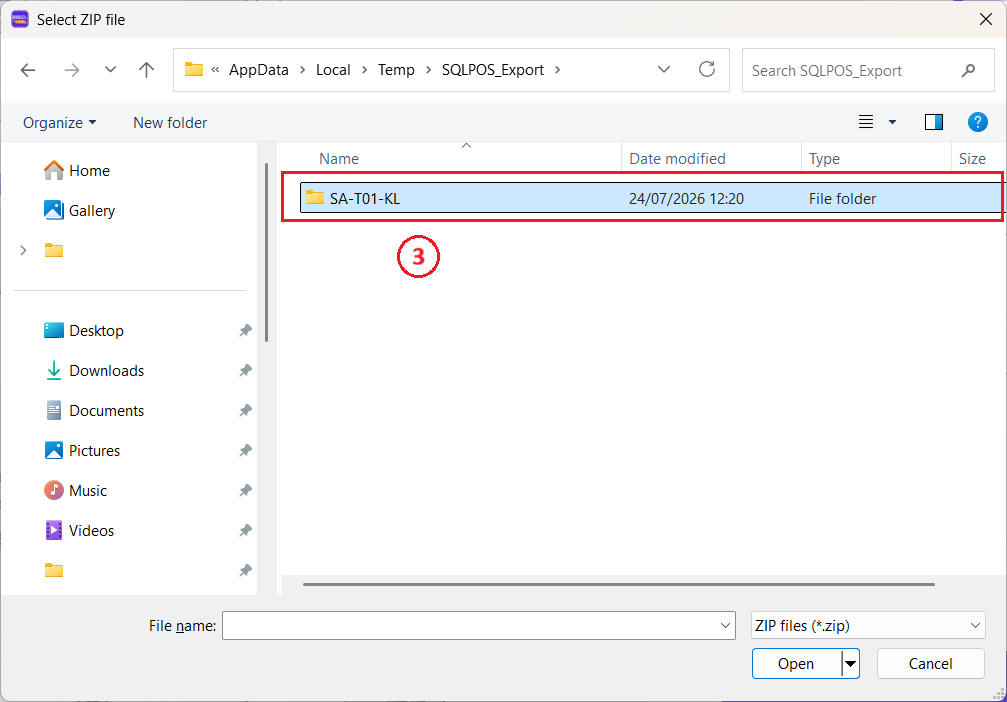
-
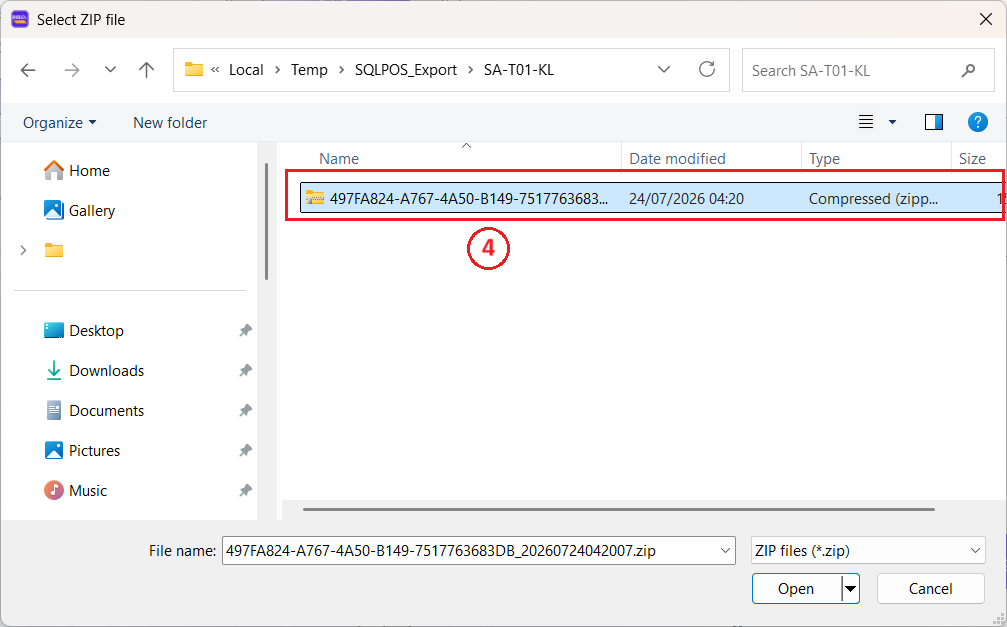
Select the latest compressed backup file to start the synchronization.
Sign In
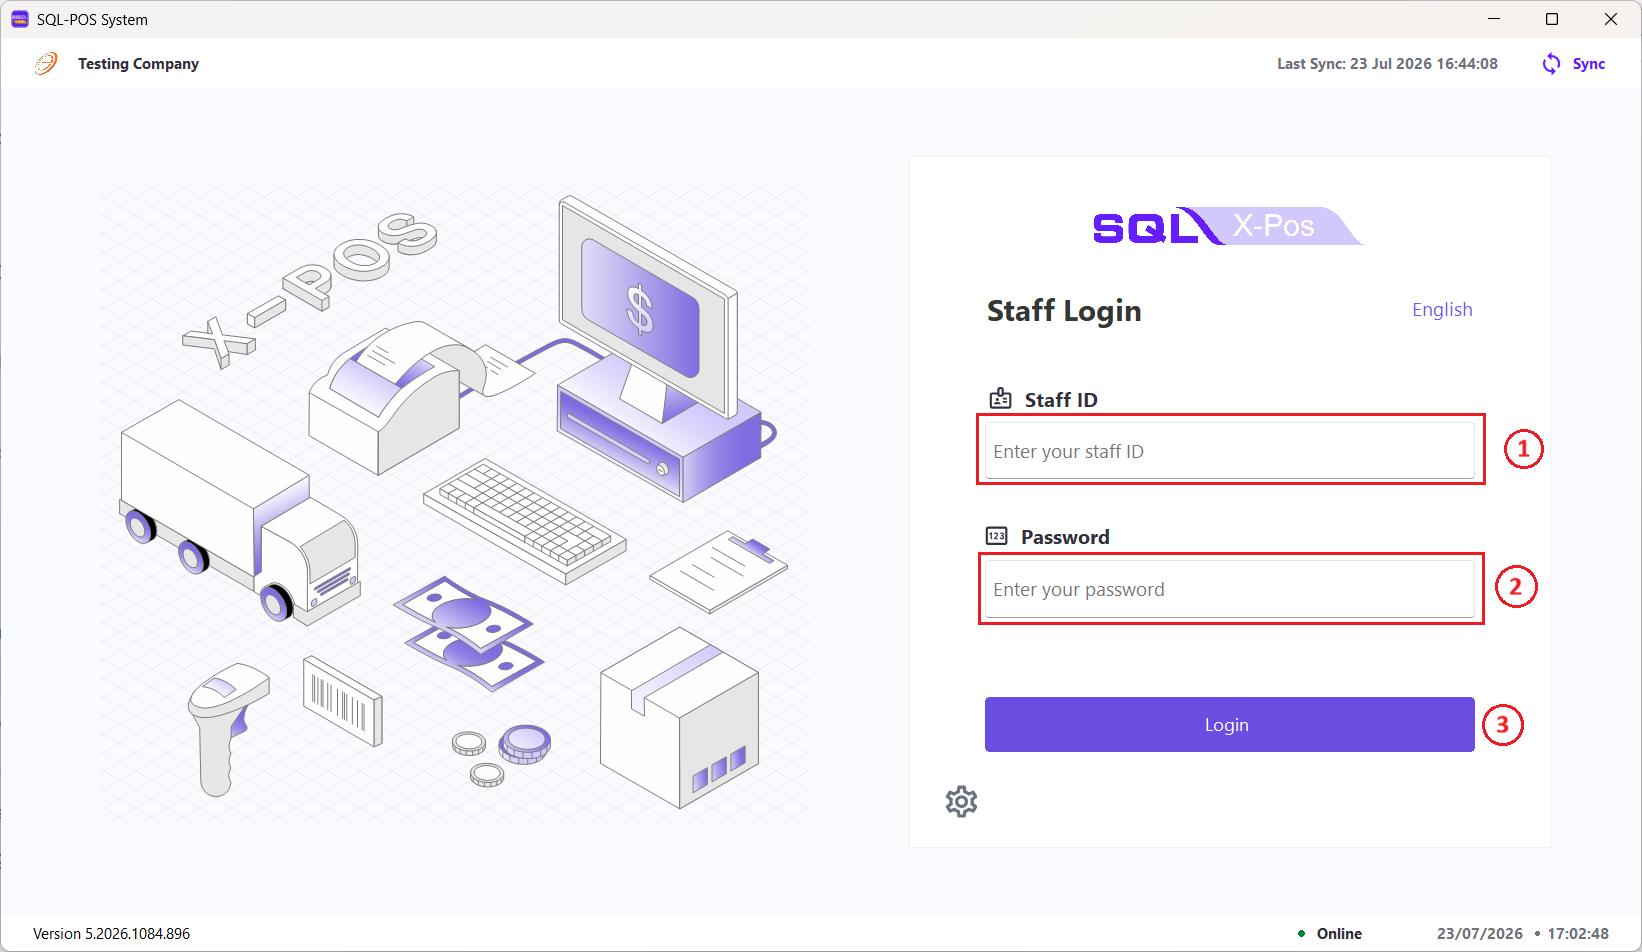
After the synchronization is successful, any SQL Account user with access rights to POS Terminal for the database can sign in to X-Pos Terminal.
- Enter your User ID.
- Enter your Password.
- Select Login.